How to Fix Garage Door Tracks: A Step-by-Step Guide

Garage door tracks are crucial components that guide the door’s movement as it opens and closes.
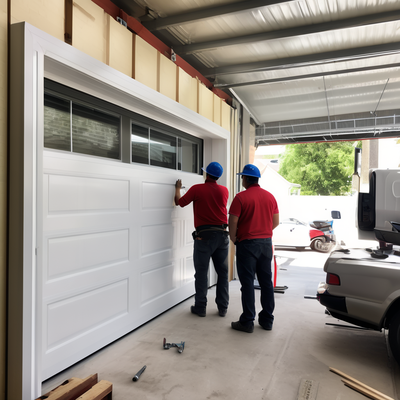
If the tracks become misaligned or damaged, it can affect the door’s operation and pose safety risks. Here’s a step-by-step guide on how to fix garage door tracks:
- Safety First: Before attempting any repairs, ensure the garage door is in the closed position and disconnect the power source to prevent accidents.
- Inspect the Tracks: Thoroughly inspect the tracks for any signs of damage, such as dents, bends, or obstructions. Use a level to check if the tracks are properly aligned.
- Tighten Loose Hardware: Tighten any loose bolts, screws, or brackets that secure the tracks to the wall or ceiling. This can help stabilize the tracks and improve their alignment.
- Align the Tracks: Use a rubber mallet to gently tap the tracks back into alignment if they have become misaligned. Ensure the tracks are parallel to each other and have a slight downward slope toward the garage door opening.
- Clean the Tracks: Remove any debris, dirt, or rust buildup from the tracks using a stiff brush or cloth. Clean tracks allow for smooth operation of the garage door.
- Lubricate the Tracks: Apply a small amount of silicone-based lubricant to the tracks to reduce friction and ensure the door moves smoothly along the tracks.
- Test the Door: Once the repairs are complete, manually open and close the garage door to ensure it operates smoothly and without any resistance.
- Professional Help: If the tracks are severely damaged or misaligned, or if you’re unsure about performing the repairs yourself, it’s best to contact a professional garage door technician for assistance.
By following these steps, you can effectively fix garage door tracks and restore smooth and safe operation to your garage door.

Leave A Comment